Finally did most of the build on the new FPV racing quad.
Background
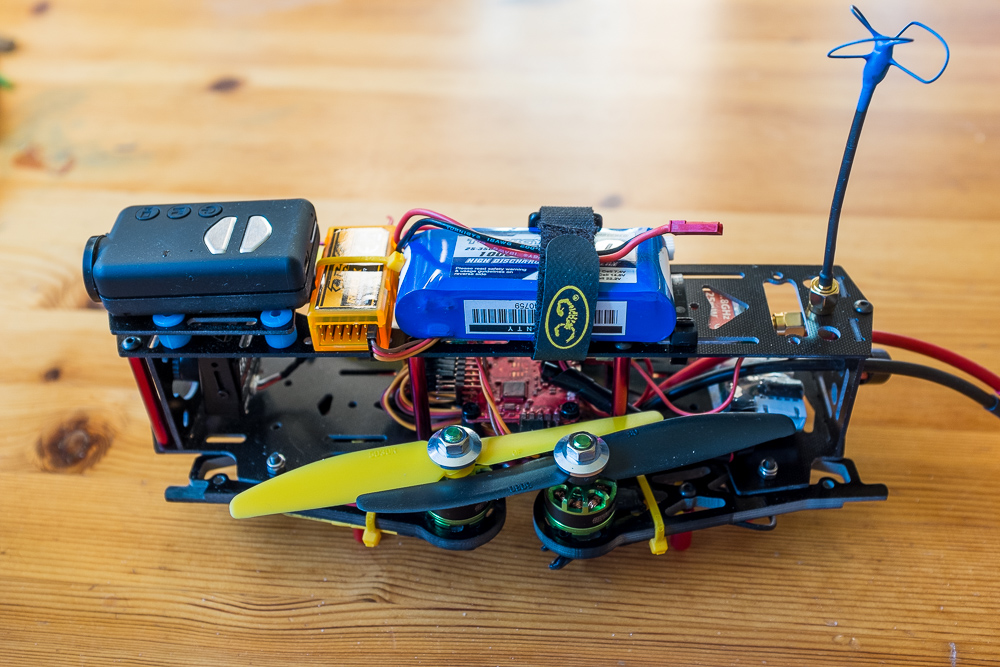
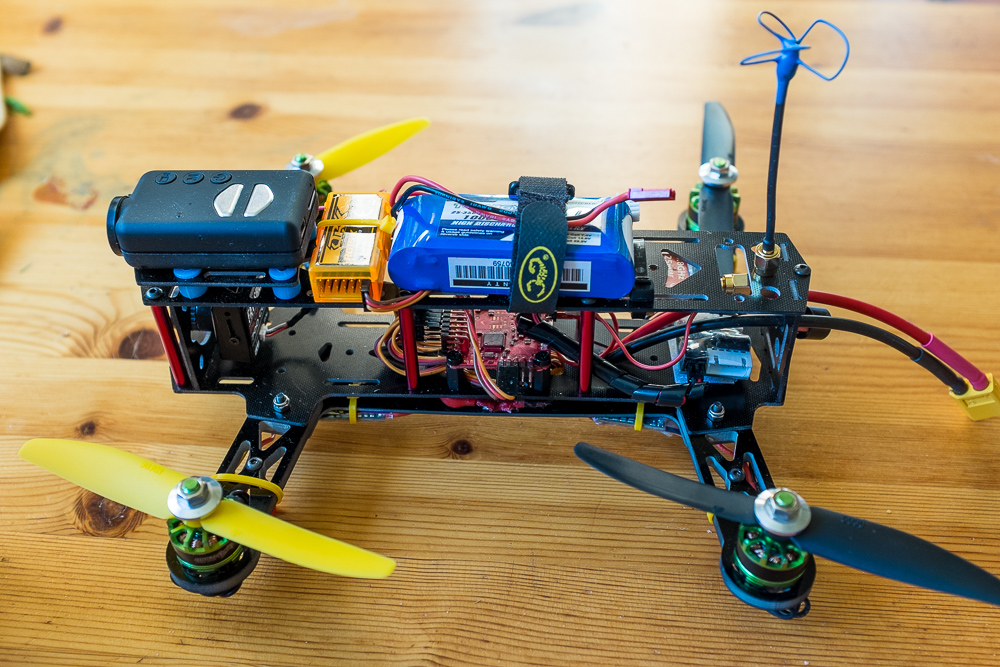
Initial information was covered in this blog post but the basic idea was that I had a racing FPV250 kit but I disliked the frame. I also wanted to try out the Naze32 board instead of the KK2.1 I was using.
Naze32
The Naze32 is smaller than the KK card - about 35mm square (looks like the mount holes are 30mm apart). It has several firmware options - the commonest are baseflight and cleanflight. Both baseflight and cleanflight are chrome apps that connect to the naze32 board over USB. There is no onboard screen/buttons like the KK - all configuration is done via a computer.
I've gone with cleanflight since it's being developed faster and has some more functions (baseflight is very stable so might suit you if you don't want to play around as much).
So far (initial testing) the board is working very well.
Note for naze32/cleanflight - this youtube playlist covers nearly everything. Video 1 is initial setup, video 2 covers things like getting stick movement max/min set correctly - and that's likely enough to get you going.
I've also set up VBAT monitoring and am using the buzzer that came with the KK2.1 card. This gives both signals for low battery as well as others. For example - I've used an AUX channel (channel 5) on the radio and a cleanflight mode setting (BEEPER) to allow me to turn on the beeper from the radio. This means I can find it if it gets lost in long grass or similar (I hope). The last channel (have a 6 channel rx) I've used to allow switching between ACRO/RATE (that's manual mode), ANGLE (original self-levelling) and HORIZON (new self-levelling) modes.
Other
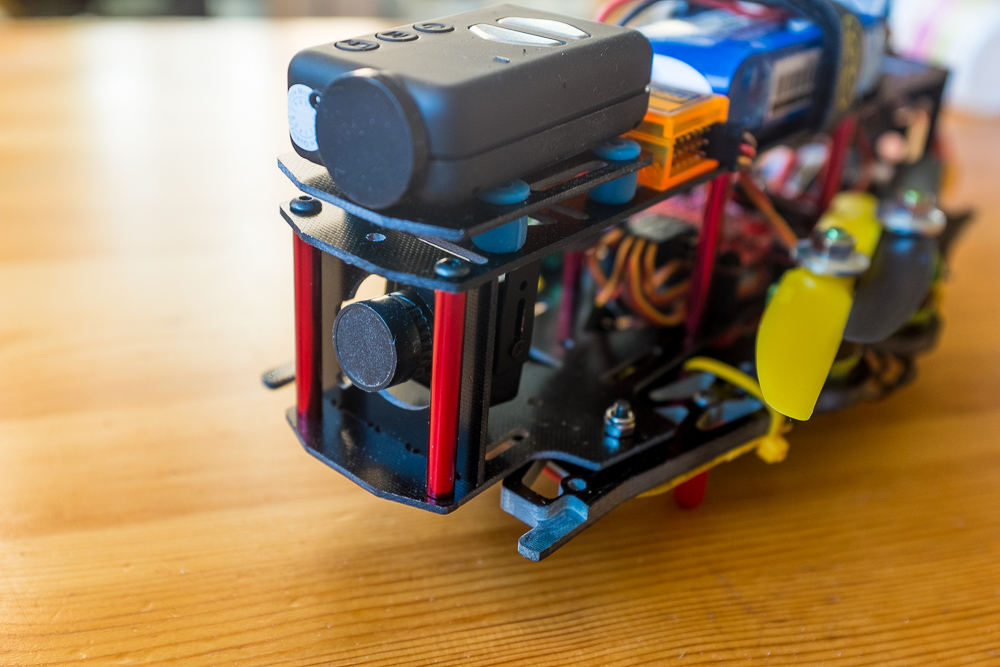
I am also waiting on some WS2812 programmable LED strips to set up signalling LEDs on the underside so I can see status in the distance. I will likely add some kind of OSD as well.
One of the frame switches on the PDB board is used for the FPV gear - so that can be turned on or off. To keep the power filter board (which takes a balance plug) I took a simple 3s balance plug extension cable - and took just the plug end, removed everything except the outermost two pins and just soldered that to the FPV power points on the frame's power board.
Pics