We recently took over two female angora rabbits - while we were on holiday, they've had two weeks at the summer hut. Now we're back home and will need to leave them unattended - they need a run.
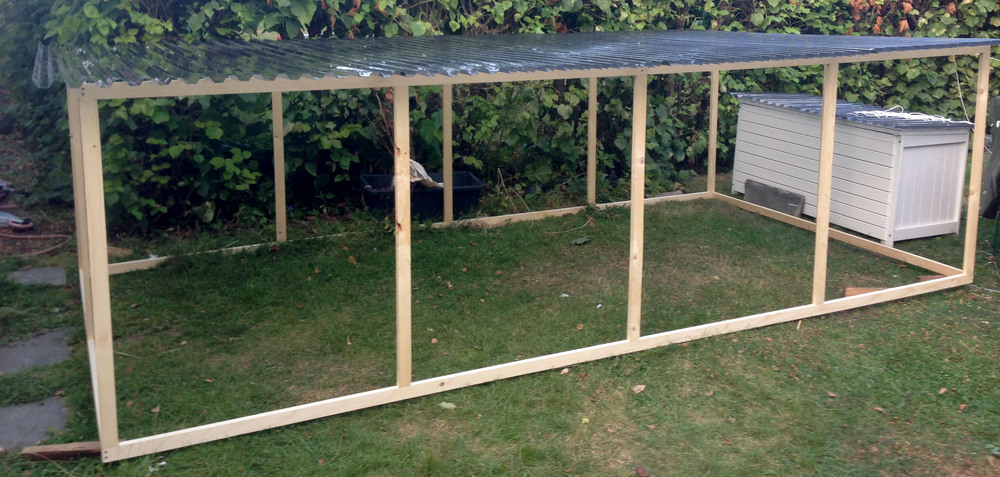
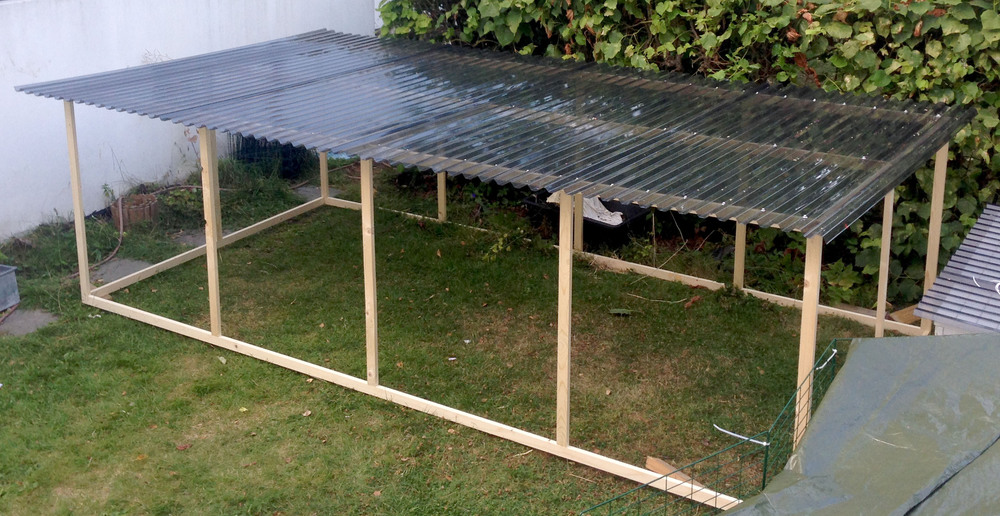
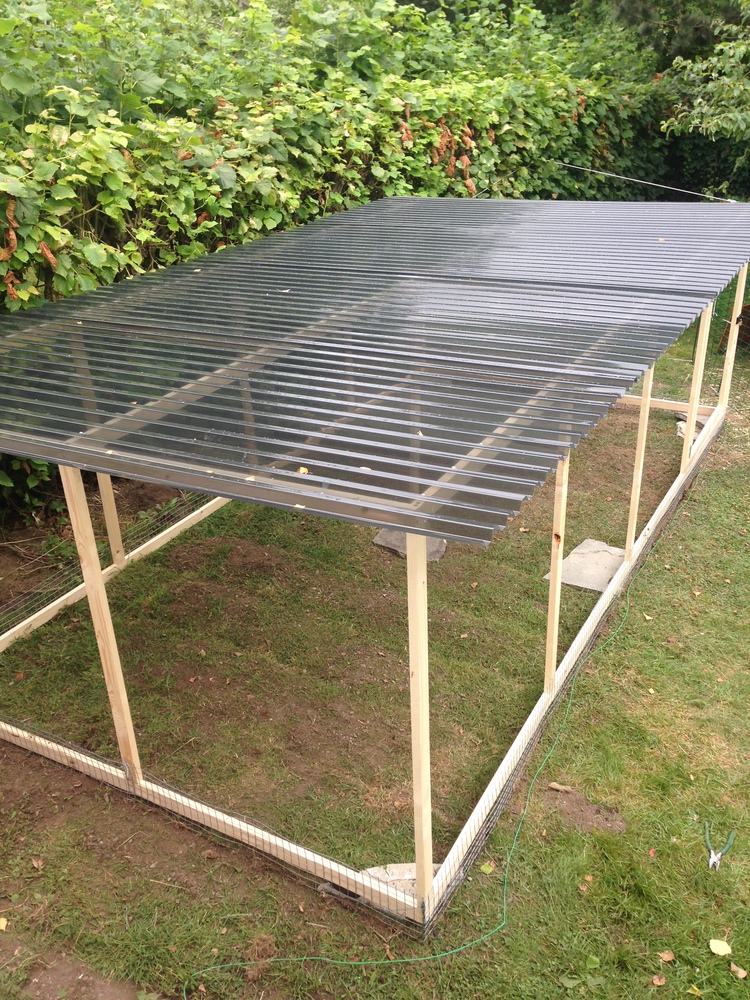
On Thursday evening I took a trip to Maxbo and purchased the wood (untreated in case the rabbits gnaw on it) and some plastic roofing plates - colour is called soot - hopefully it will provide some shade while still letting some light in.
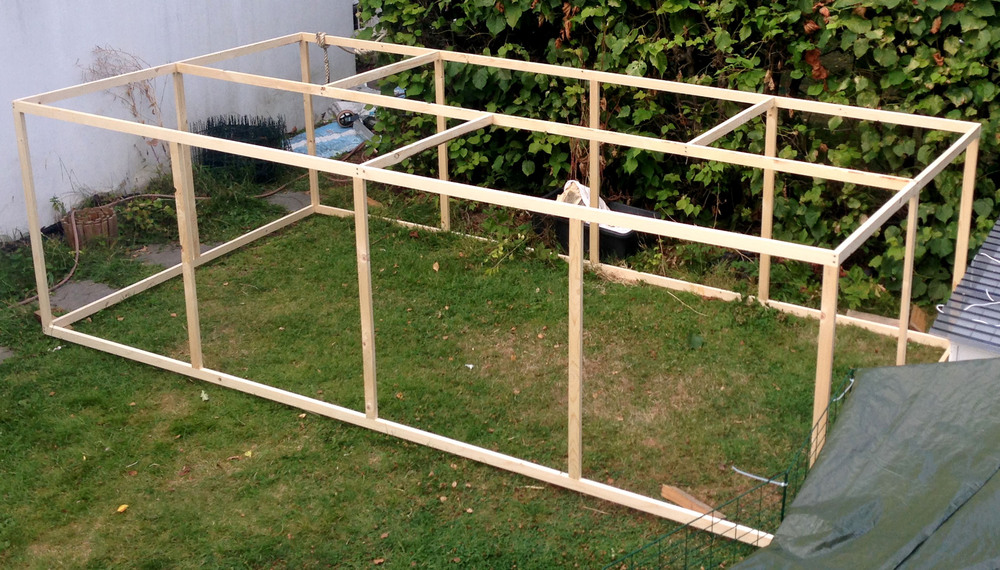
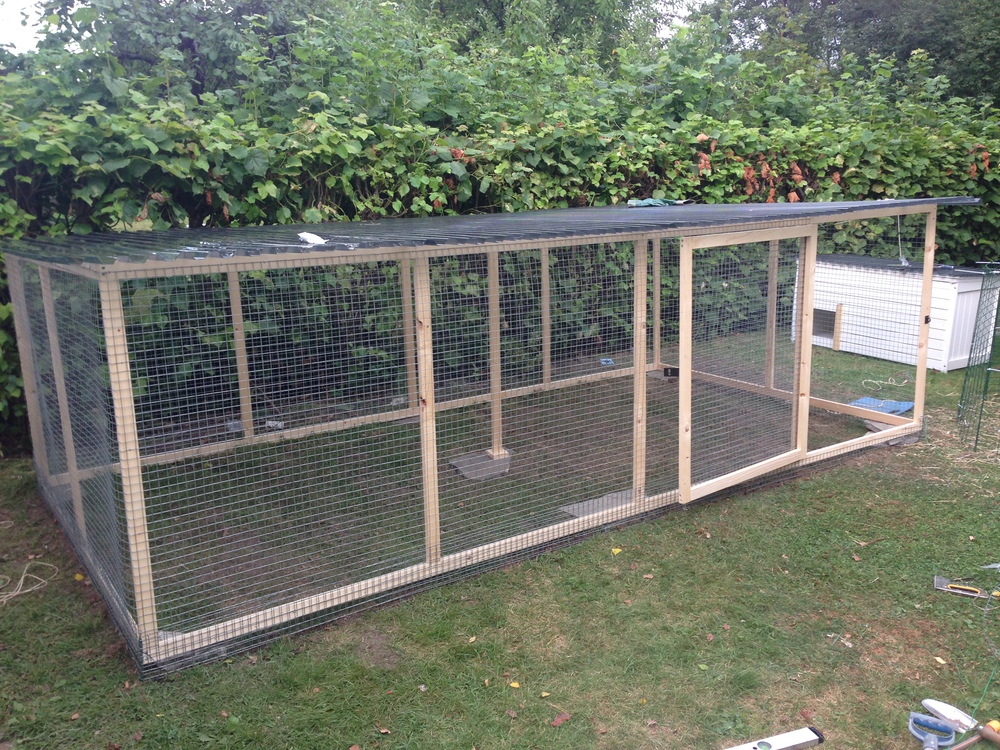
On Friday - we started with building the frame:
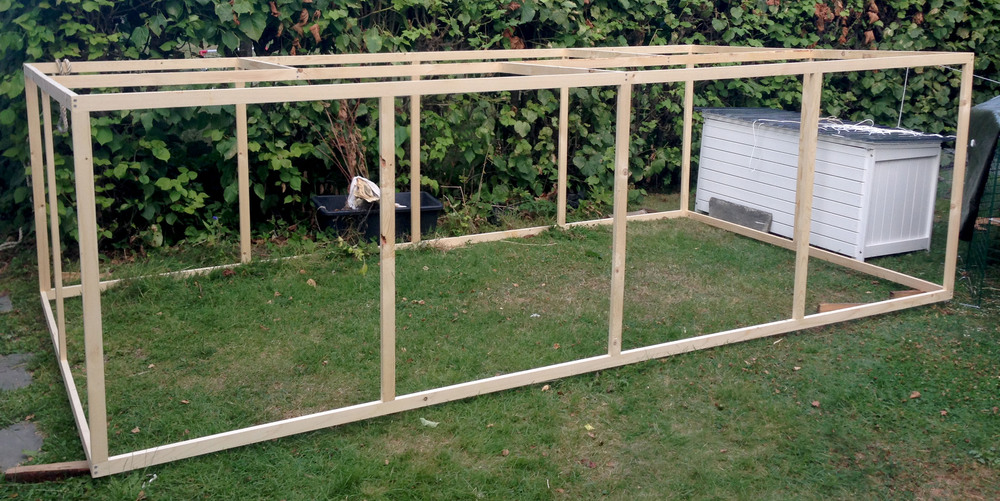
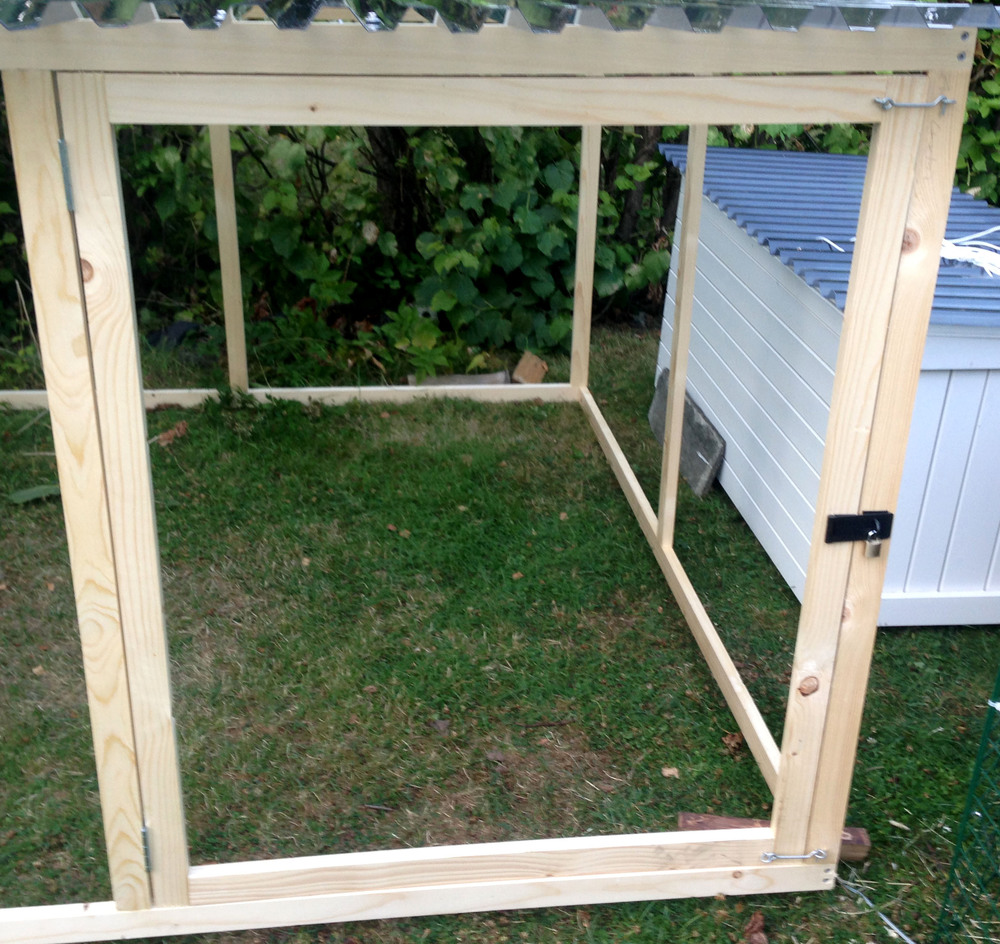
The white box in the background is for garden chair cushions but it's neither waterproof or mouse proof - so we're repurposing it as a bedroom for the rabbits. It will be joined with a short tunnel and can be properly insulated for winter - something the hutch can't be.
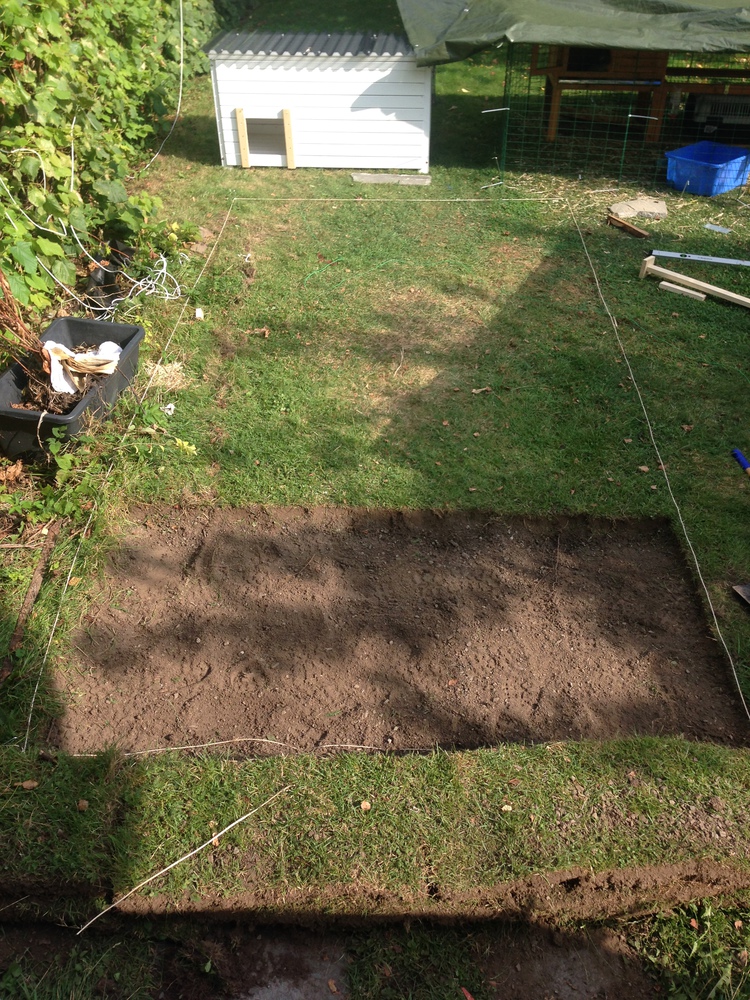
I'd intended to have enough netting in from the base to prevent the rabbits from digging out - but on Thursday evening while I was sitting in the garden a badger came round the corner of the garage. They're excellent diggers - so we needed a more robust base. But I didn't want the rabbits to have to sit on the wire mesh.
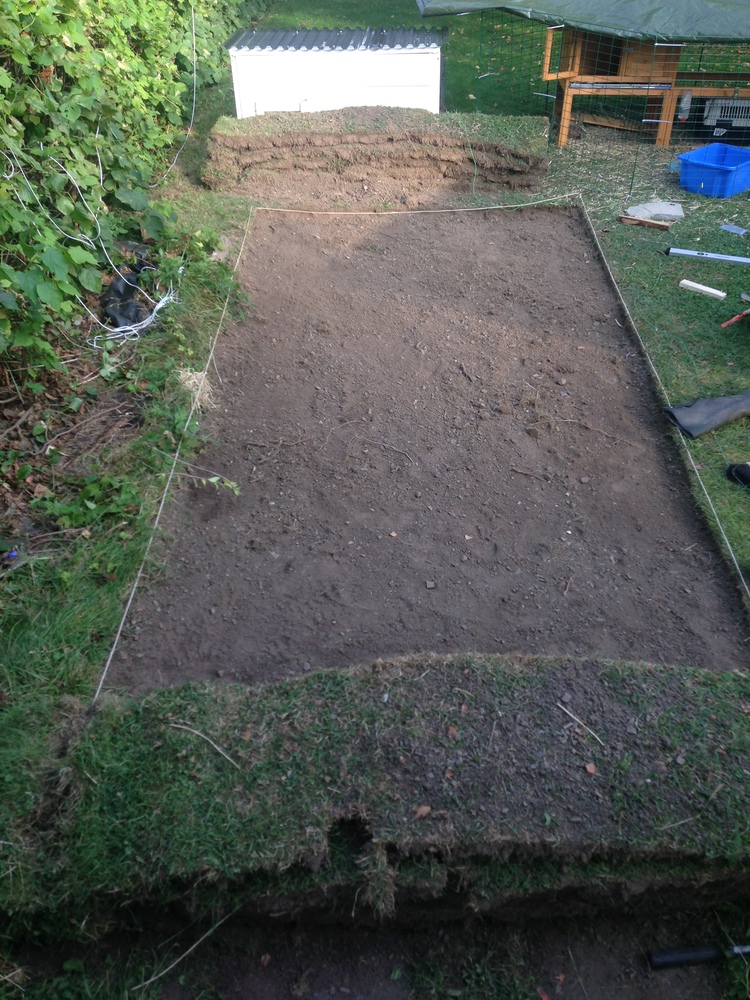
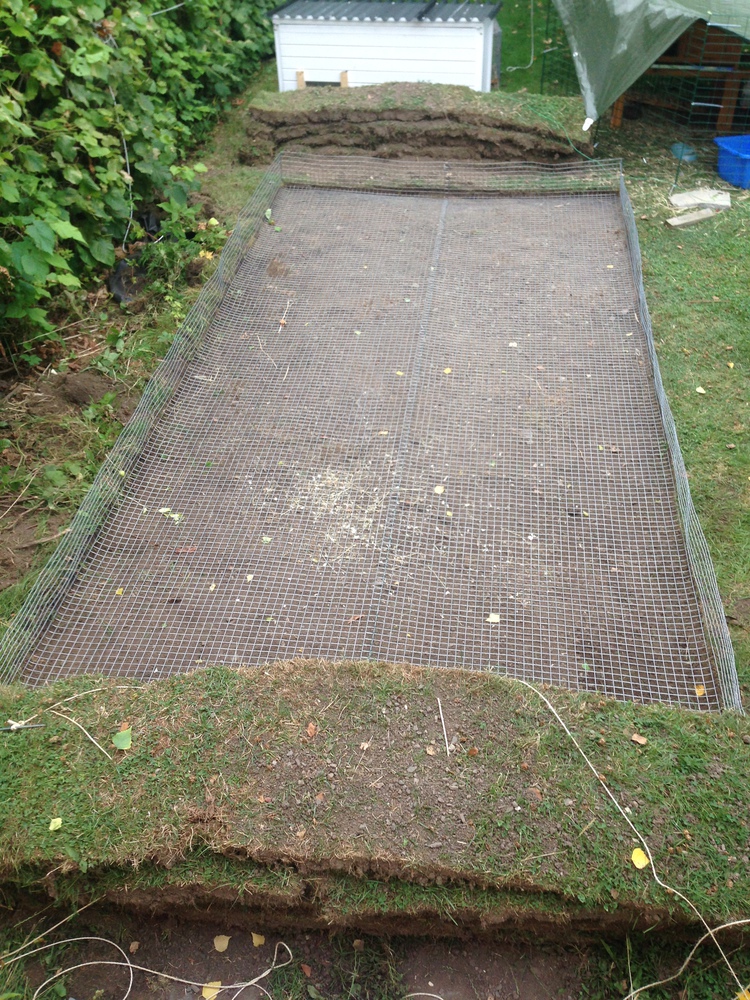
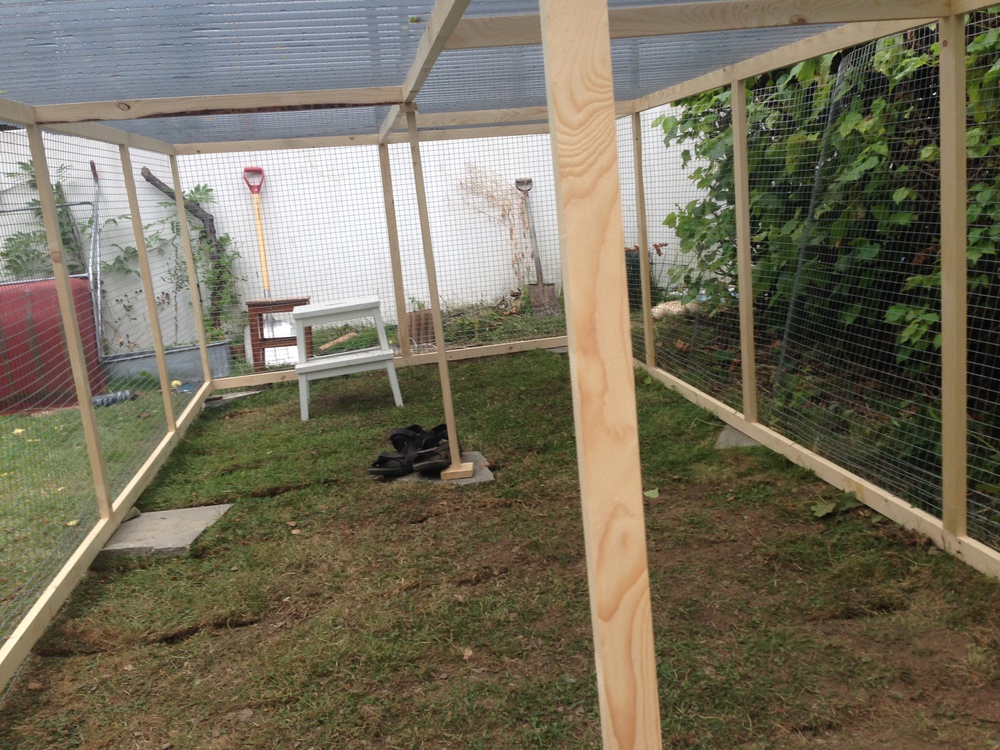
So the next stage was removing the turf:
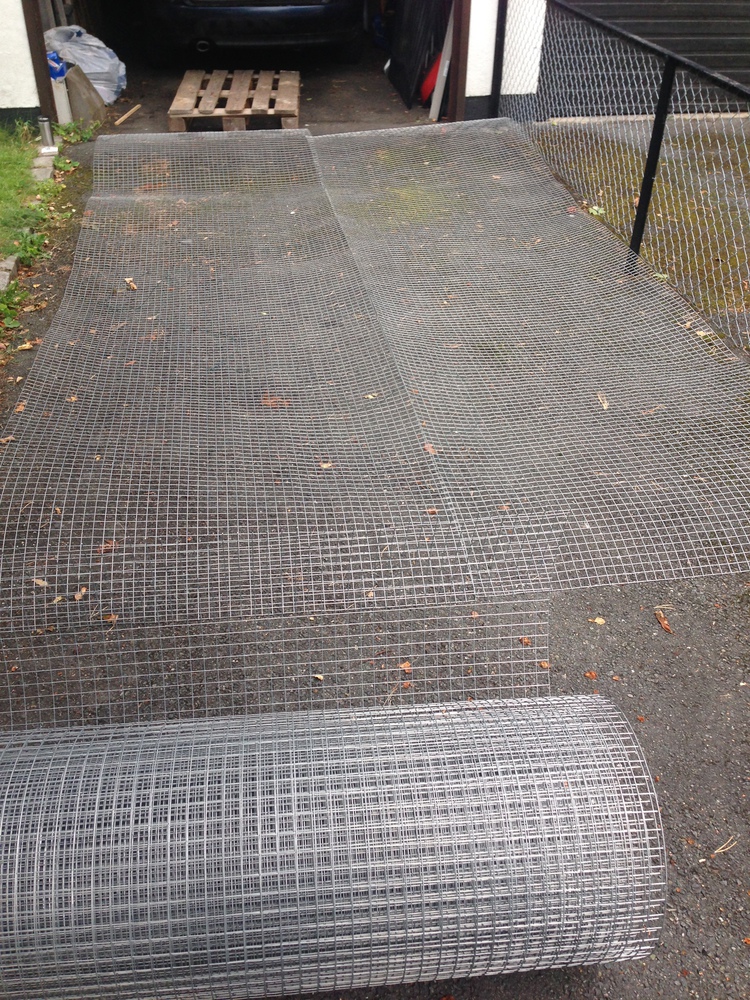
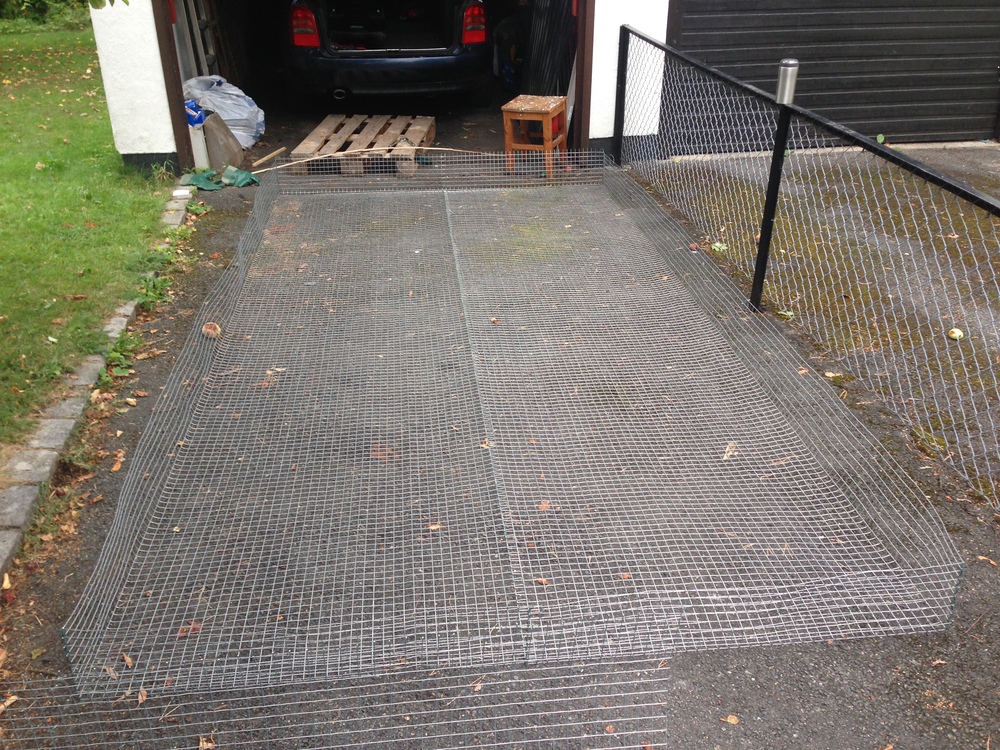
Now - finding fox proof netting turned out to be hard. In the end - we found a website for a firm based in Ramnes (near Tønsberg) D. Johansen Husdyrutstyr who had galvanised netting with a 1" square grid - 1.2m high, 25m long and with 1,75mm thick wire. To top it off - they were doing a free delivery run around the region on Sunday. Perfect size, grid, thickness and timing.
Big heavy roll though.
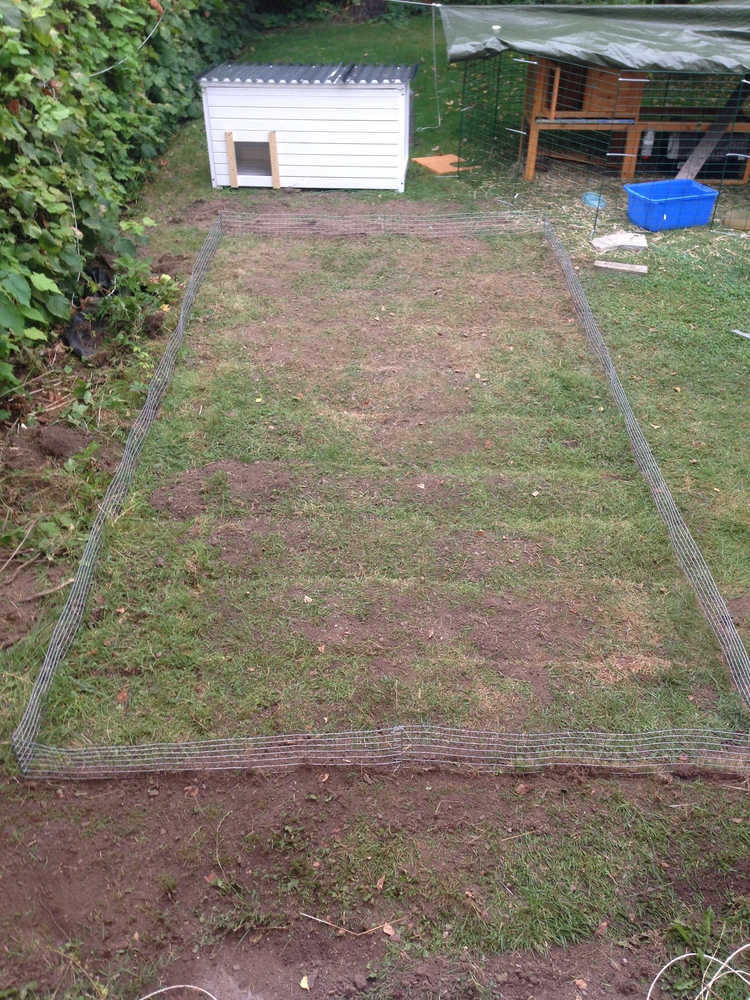
Now we had to finish the ground preparation.
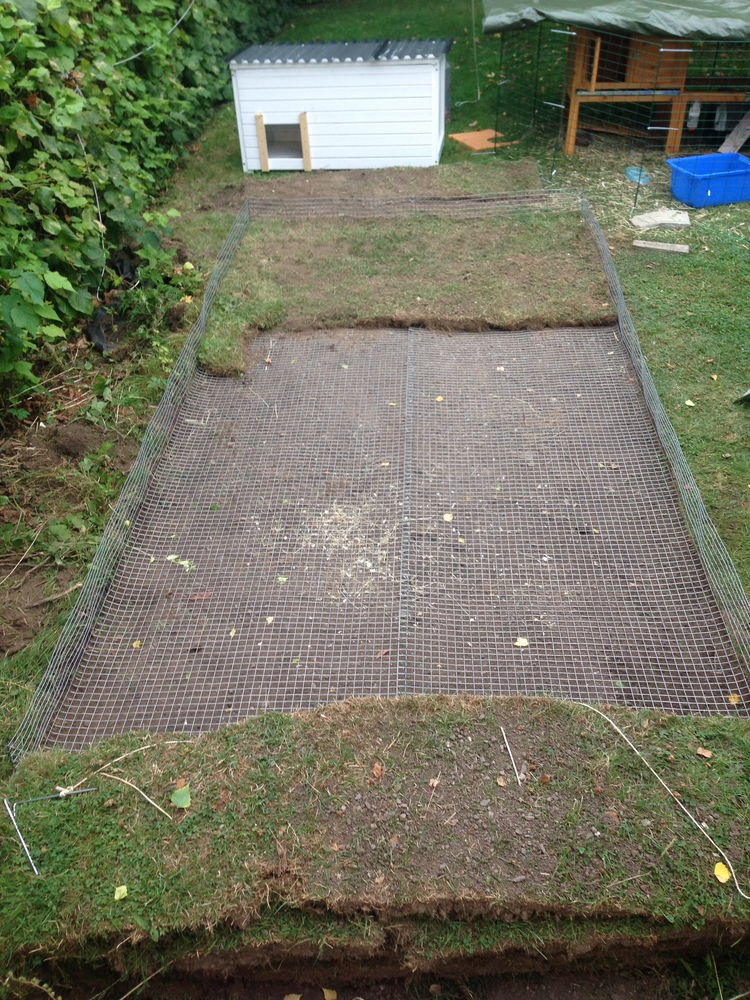
Next the frame was moved back into place and the netting along the bottom fastened to it.
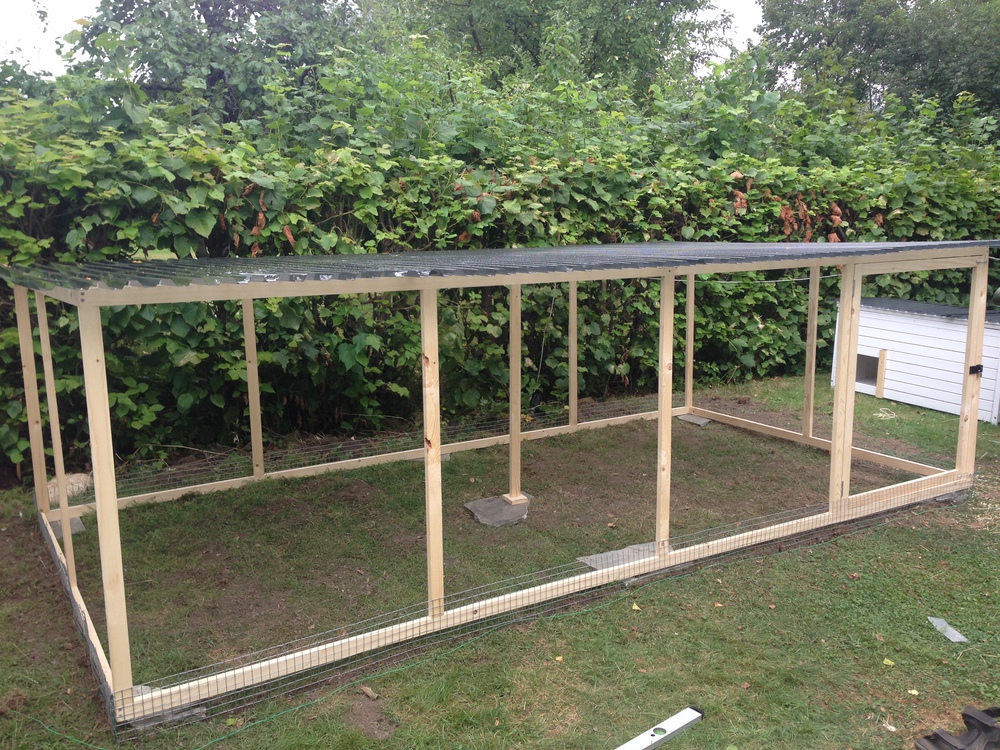
Now came the walls.
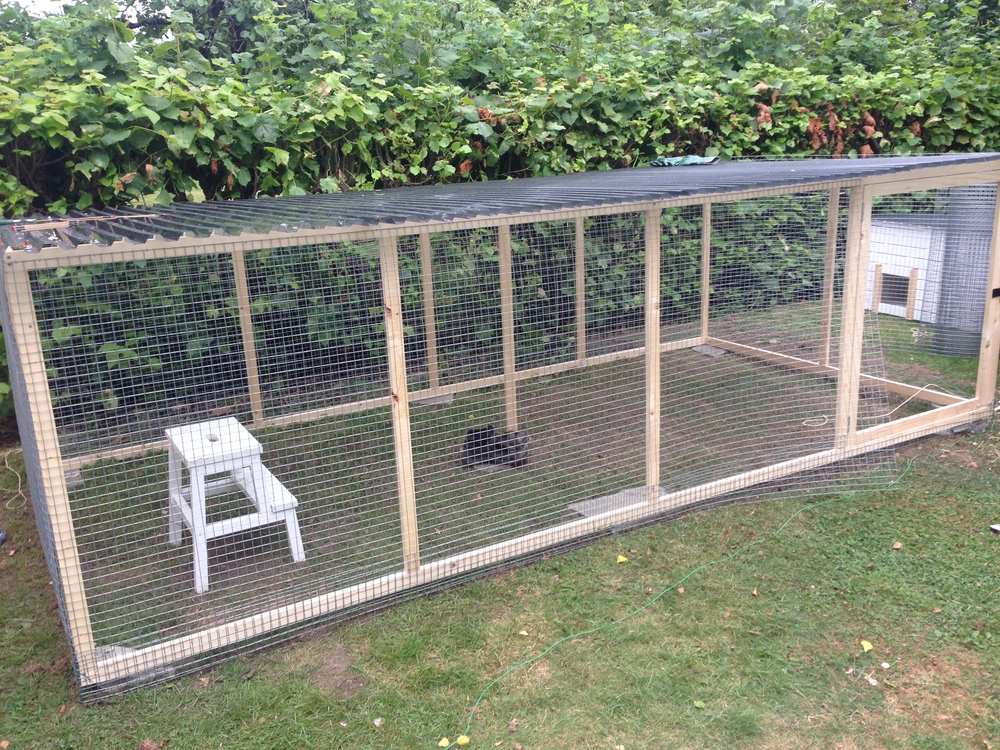
So - we got the walls and door done.
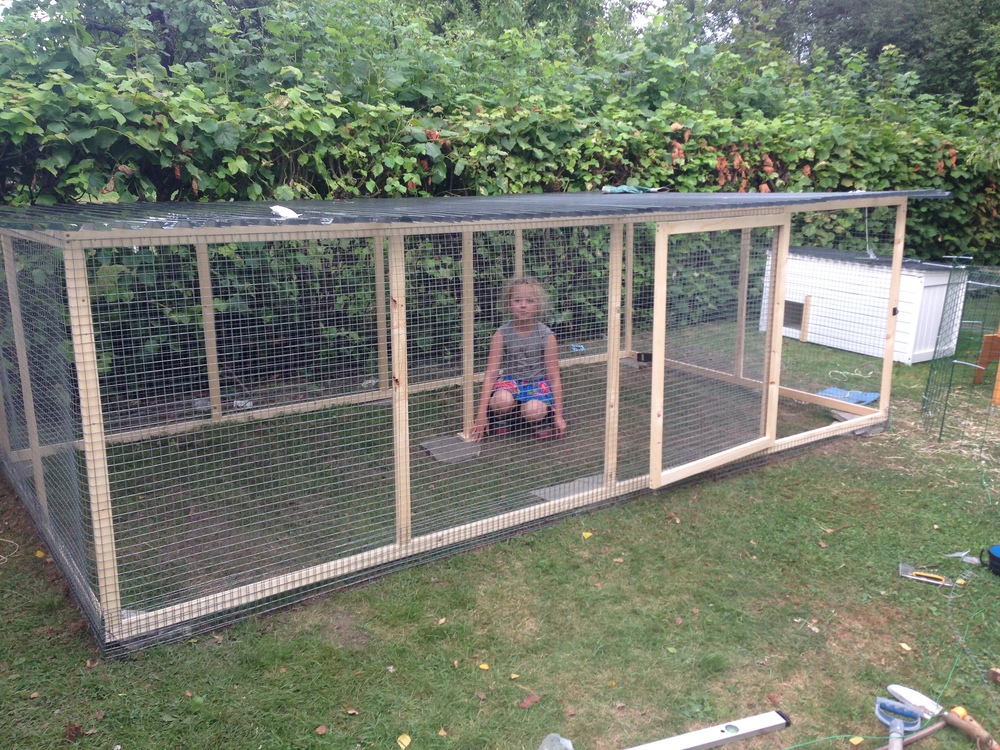
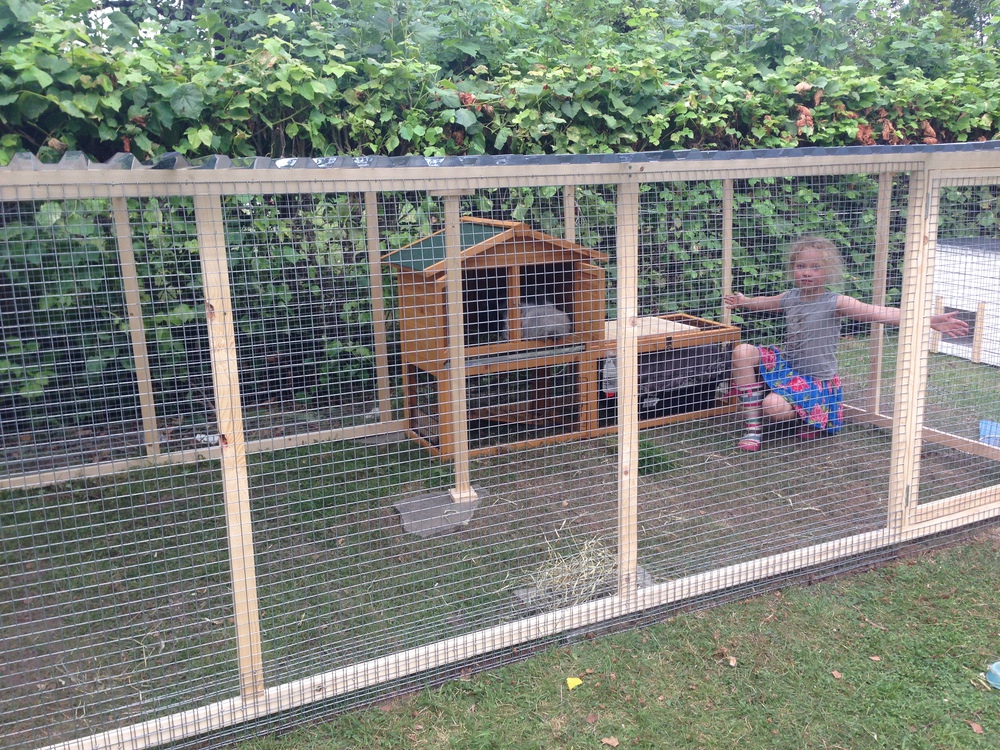
And finally we moved the rabbits in.
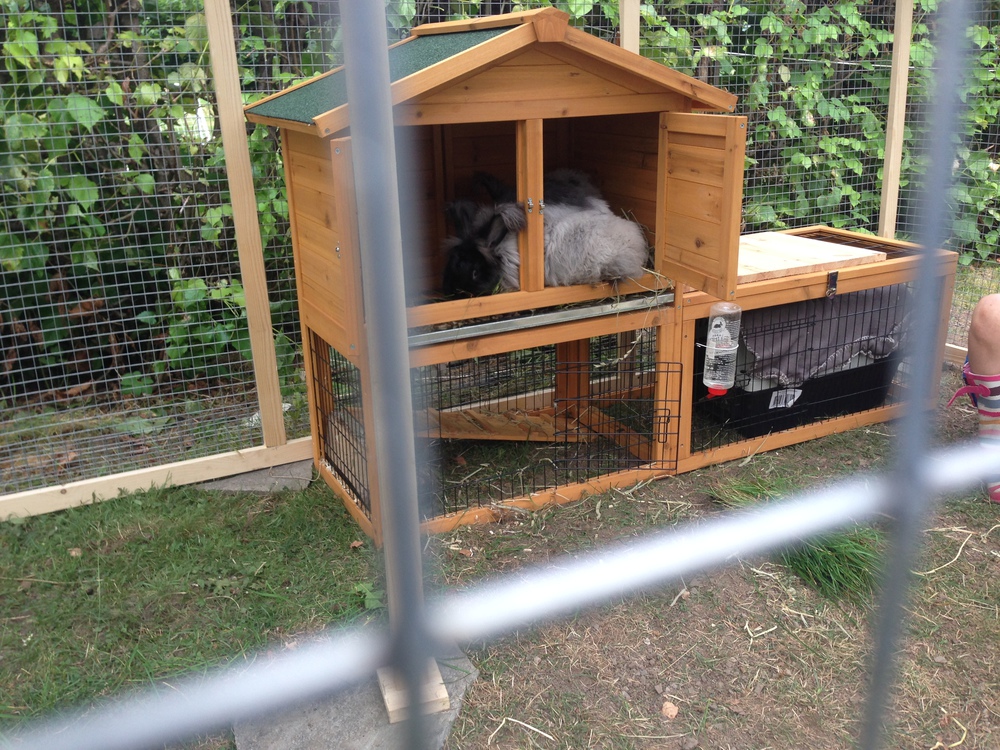
Video: Having a snack after moving in

What's left to do now? Well - we still need to make the tunnel to the white box/bedroom, add a hook in the inside of the door so that you can keep the door closed while inside - but otherwise - pretty much done.